Actual color may vary from on-screen representation.

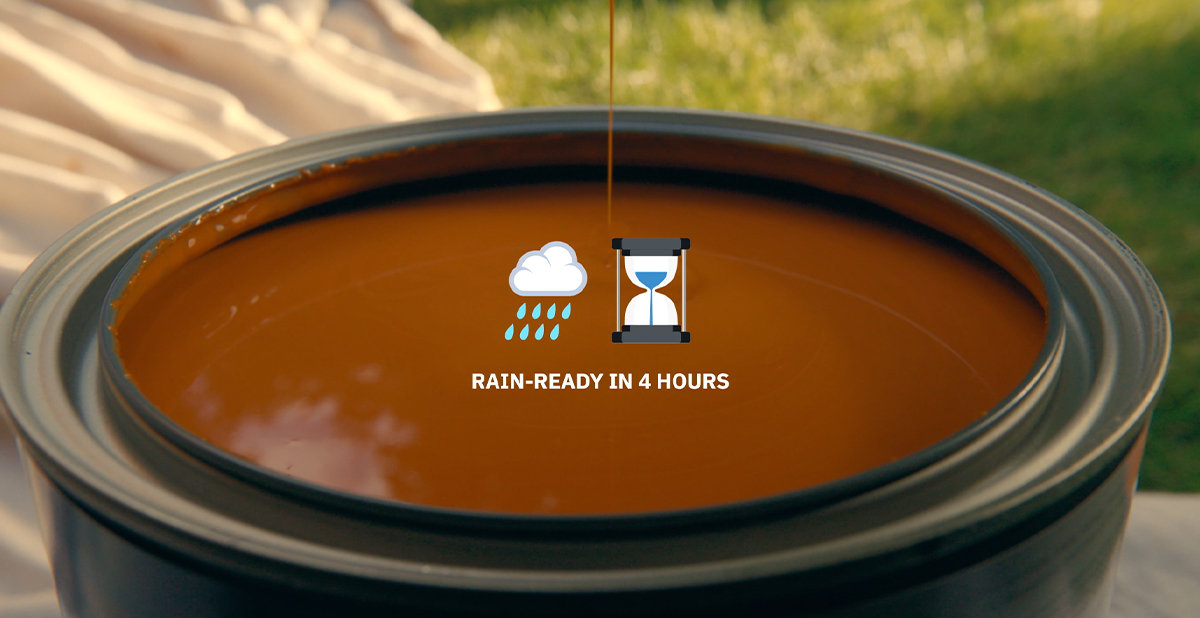
STEP 1: CHECK THE WEATHER
Before you even open the can, make sure the weather is on your side.
Ideal staining conditions:
- Temperature between 50° and 90°F
- Low to moderate humidity
- No rain in the forecast for at least 4 hours (moisture and extreme temps can mess with how the stain absorbs and dries).
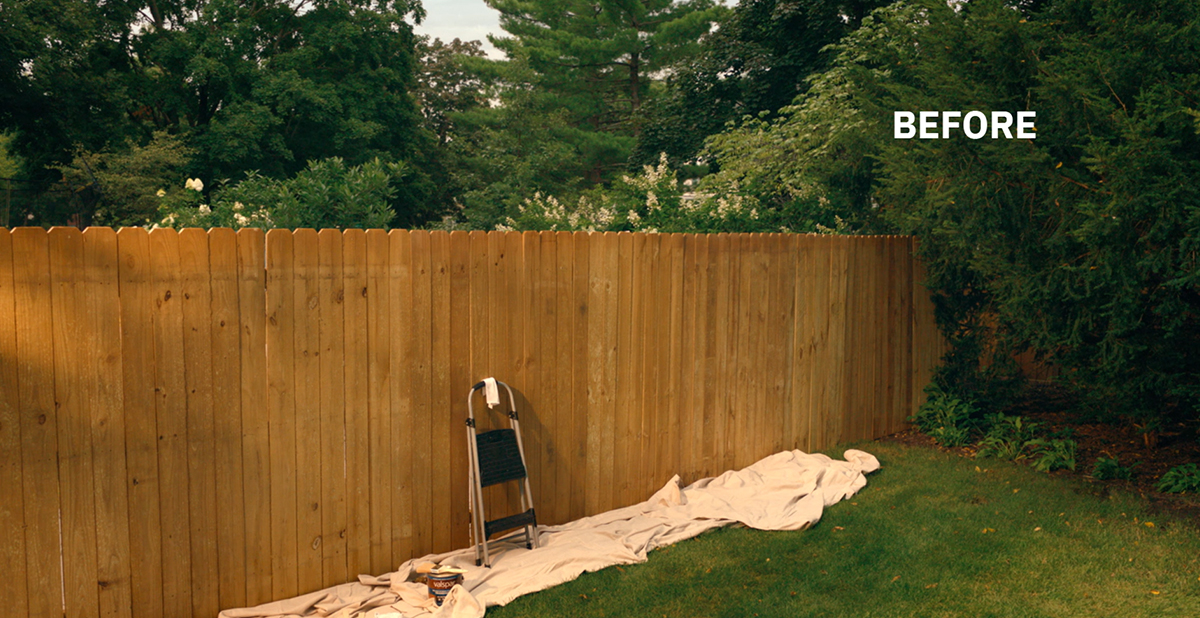
STEP 2: PREP YOUR SURFACE
A clean, smooth surface is key to a beautiful finish.
Here’s how to prep:
- Inspect the wood for loose fibers and brush them off with a bristle brush.
- For dirt, mold, or mildew, use Valspar® Fast Acting Cleaner.
- For older, weathered wood, go with Valspar® All-in-One Wood Prep.
STEP 3: CHOOSE THE RIGHT STAIN
Not all stains are created equal! Pick the one that fits your project. Our Valspar exterior water-based stains are great for easy cleanup with soap and water, and they’re rain-ready in just 4 hours.

- Valspar® Clear Exterior Sealer lets wood be the star of the show while still giving several years of waterproofing.
- Valspar® Transparent Stain provides just a hint of color. It protects new or bare wood while enhancing its natural beauty.
- Valspar® Semi-transparent Stain will help mask imperfections while giving subtle color and letting some wood grain show through.
- Valspar® Solid Stain is great for older, weathered wood. It gives a rich-colored coating while providing maximum coverage and durability.
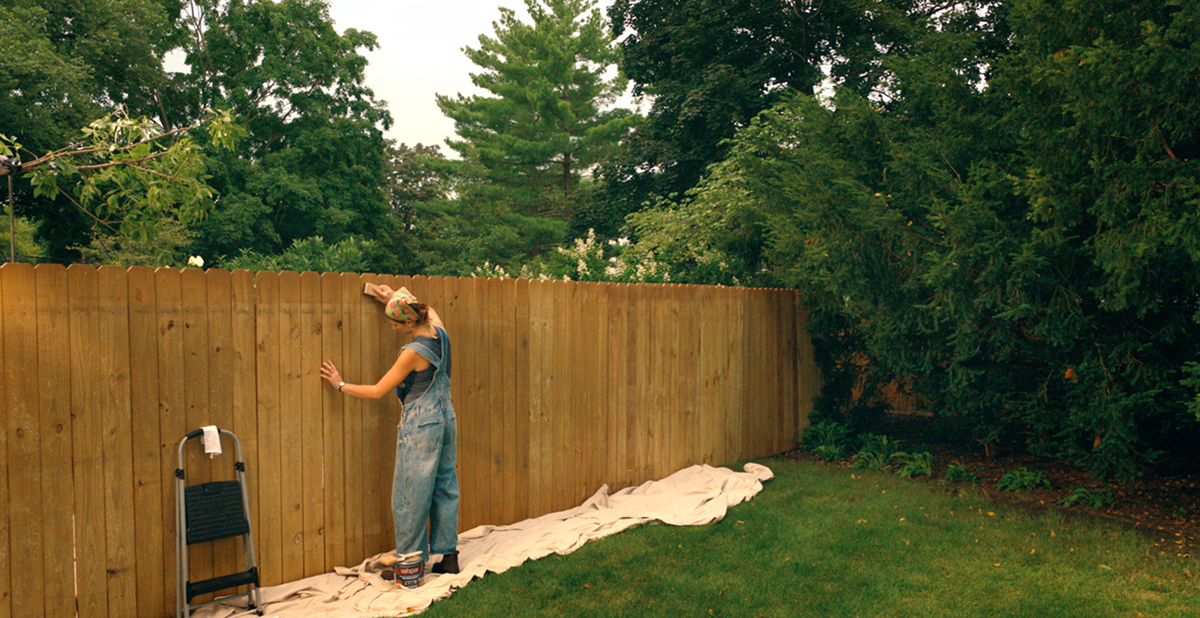
STEP 4: APPLY LIKE A PRO
Now for the fun part—staining!
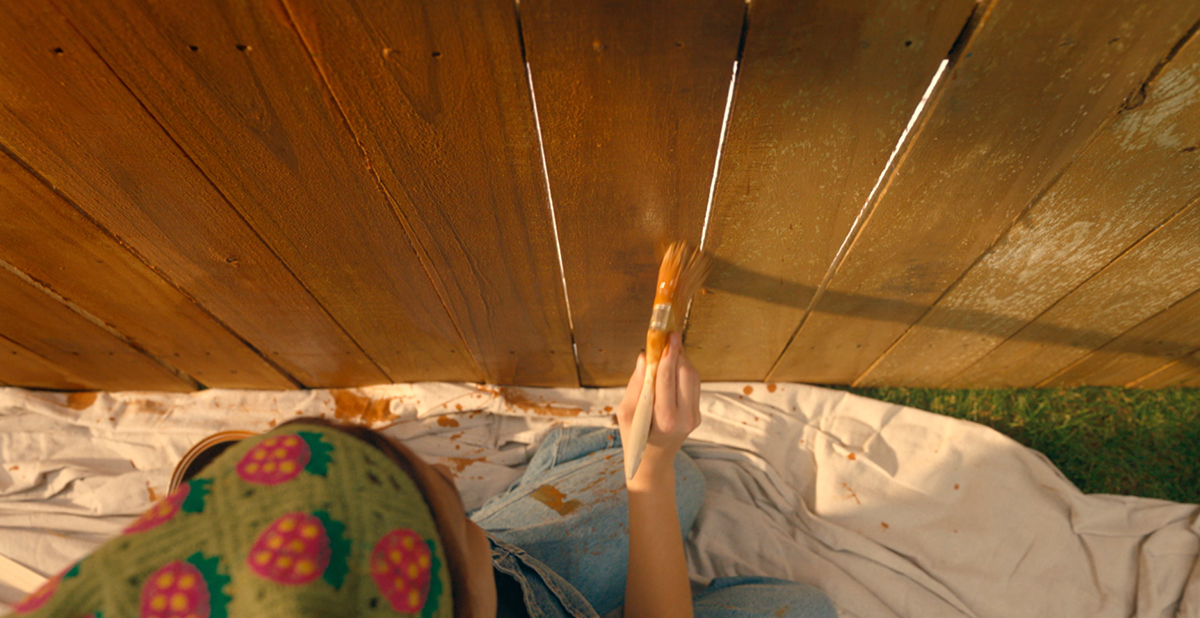
Steps to follow:
- Use a Valspar Stain & Clears brush for better control.
- Apply in small sections, a few boards at a time.
- One coat is usually enough with our stain.
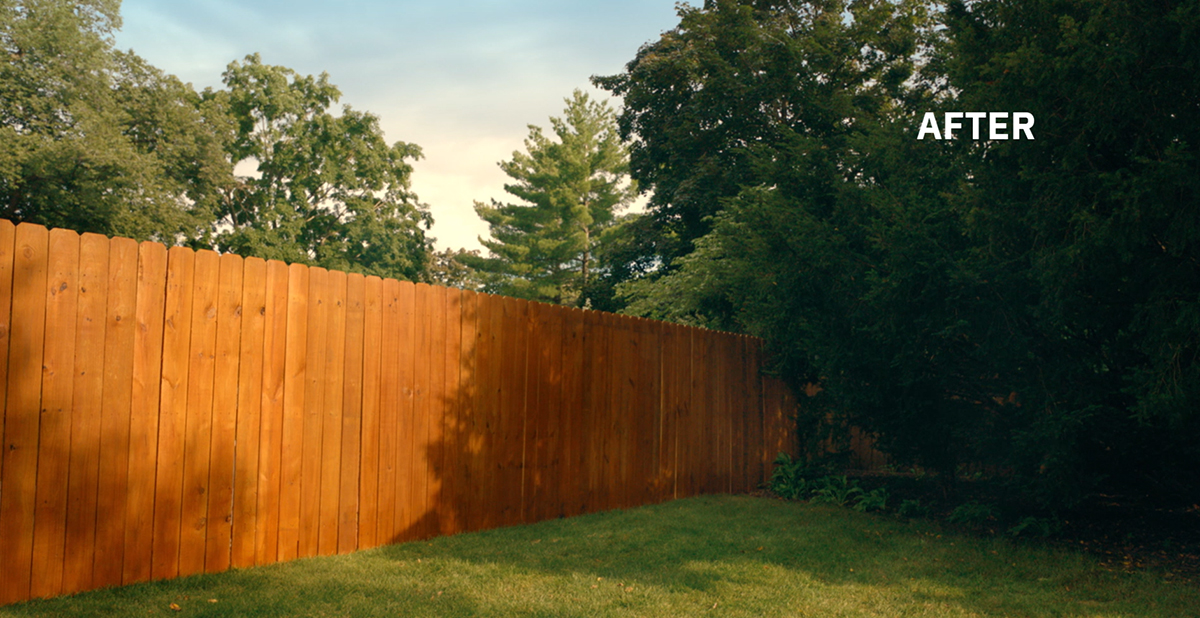
STEP 5: YOU’RE DONE!