

Actual color may vary from on-screen representation.
VALSPAR’S ONE GALLON CHALLENGE
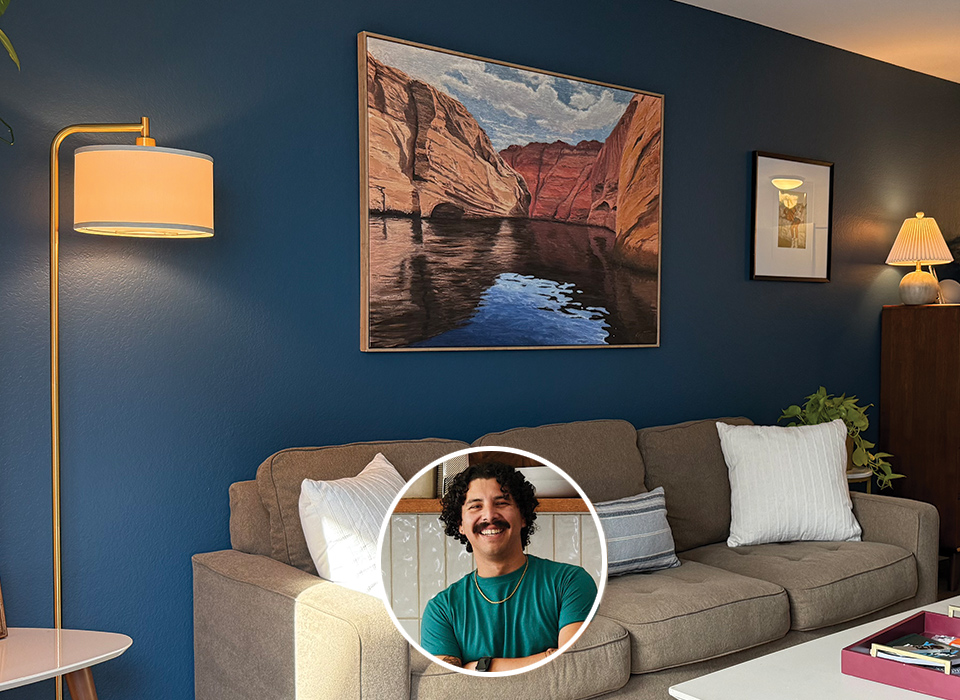
Renter-Friendly Living Room Refresh
SUPPLIES YOU WILL NEED
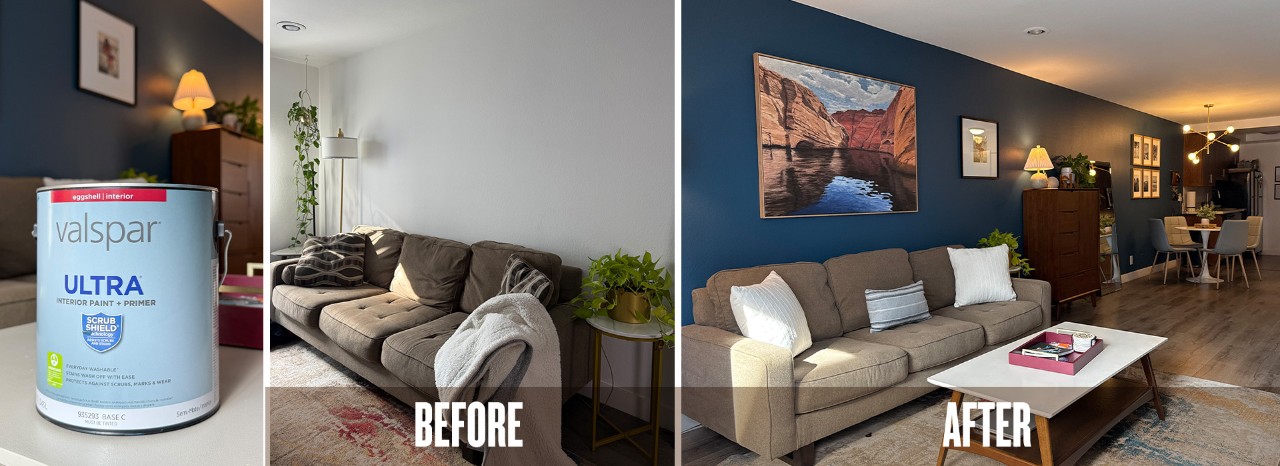
- Valspar Ultra Interior Paint + Primer in Eggshell – 1 gallon
- Valspar Walls, Ceilings & Trim 6-Piece Knit Roller Kit
- Painter’s Tape
- Utility Knife
STEP-BY-STEP INSTRUCTIONS
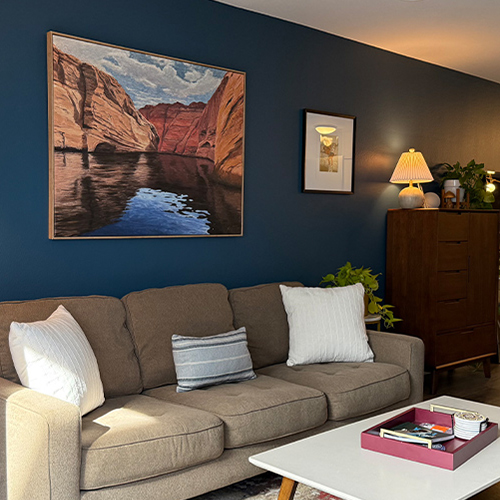
My friend’s apartment has one long, bare wall that connects the living and dining areas. It’s the first thing you see when you walk in, and it lacked personality. I decided to focus the entire project on this single wall to keep it renter-friendly and achievable in a day.
I picked up several Valspar paint samples and tested three dark blue shades on the wall. We chose Deep Twilight Blue 4007-6C—a warm navy that played nicely with the apartment’s flooring and mid-century furniture.
I purchased one gallon of Valspar Ultra Interior Paint + Primer in an eggshell finish. I also grabbed a 6-piece Valspar roller kit, 2” painter’s tape and a paint spout. While I was there, I picked up a few accessories to style the space post-paint: a modern pendant light, a small table lamp, and new throw pillows.
Using a damp rag, I wiped down the wall and the tops of the baseboards to remove dust. I also cleaned around outlets and light switches to ensure the painter’s tape would adhere properly.
I used 2" painter’s tape to mask the entire perimeter of the wall, baseboards, and any trim. I removed all outlet and switch covers and taped over the exposed areas.
Because of the heavy texture on the wall, I first applied a thin bead of caulk along the tape edges and wiped off the excess. Once dry, I painted along the tape with the existing wall color (white) to double seal the edge. This ensures any bleed-through matches the wall, giving you super crisp lines after painting.
I cut in around the entire wall using an angled trim brush—about a 2” border on all sides—plus around outlets and switches. This step makes rolling much faster and easier.
Using the roller from the Valspar kit, I worked in vertical passes from top to bottom, overlapping slightly as I went. I made sure the roller was well-loaded with paint to prevent lap marks and ensure consistent coverage. This first coat took about 20 minutes.
While waiting for the first coat to dry (about two hours), I replaced the existing track light over the dining area with a modern pendant light from Lowe’s. I also started laying out the artwork I’d be hanging after the paint cured.
I repeated the process—cutting in the edges and rolling from top to bottom. This second coat provided full, rich coverage.
Once the wall was dry to the touch, I scored the edges of the tape with a utility knife before pulling it away to reveal clean, sharp lines.
I hung the new artwork and photo prints, returned the furniture to its original layout, and layered in new lighting and throw pillows to pull it all together.

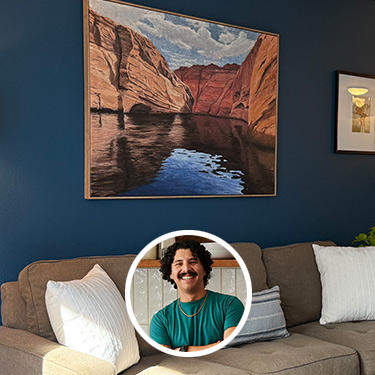
MORE PROJECTS BY KYLE ORITZ
NEXT PROJECT
Coming Soon